I recently attended my very first blogging get together hosted by Lindsay at Southern Lovely and Becca From Gardners to Bergers. These two girls are seriously the sweetest! It was a blast and I enjoyed getting to know my fellow local bloggers! I wanted a fresh new look to my business cards for this little event but I didn’t want to spend a lot of money, so DIY business cards is what I did! I browsed around the internet a bit and was inspired by these designs…..
 :: ::
:: ::
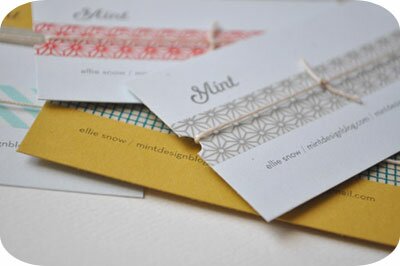 :: source ::
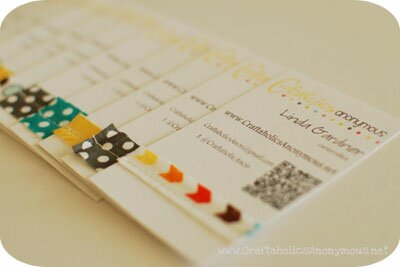
I loved the simplicity of the cards so I used a few elements from each and this is how mine turned out.
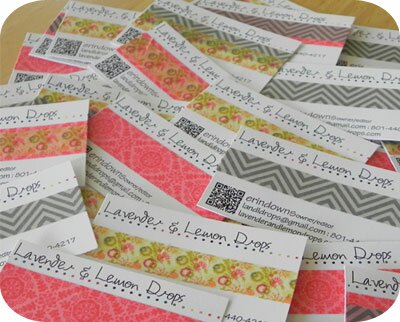
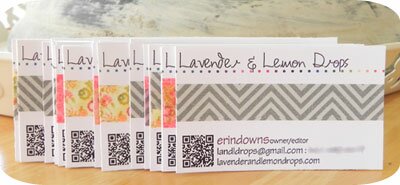
I wanted a unique, catchy, and memorable look. I used Photoshop Elements to create the layout, to add the font, and insert the QR Code. I saved my document to my SD card and took them to Kinko’s for printing. I spent a whopping $3.40 to have 6 sheets, 8 cards each, printed! I cut my cards up and added a strip of washi tape down the center of each.
That funky little printed box looks really intimidating but don’t fear… its SO EASY! Linda from shared a little on how to add your QR code.
Here is how it works….
Go to THIS site.
1. Select what type of data you want converted into your code
2. Input your content.
3. Select what color you want your code printed as. I suggest keeping it simple and using the darkest black. This will prevent an errors when using/scanning the code.
4. Select your output type/how you want to receive your code. I downloaded mine so I could open it in Photoshop and attach it to my business card.
That’s it! So easy right! You could use these QR codes for your FB and Twitter page, a specific blog post, even your email address. Awesome!
Thanks for organizing the get together Lindsay and Becca! I enjoyed chatting and getting to know both of you :)
linking up with these great bloggers


