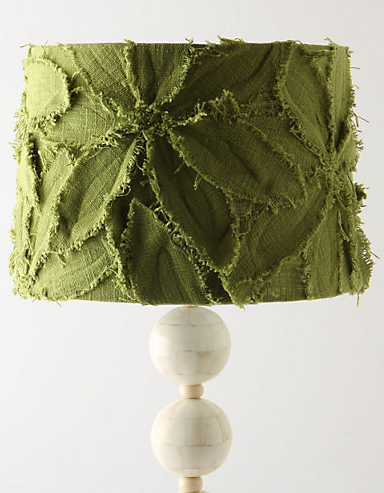
My promise to re-create this amazing lamp shade at a MUCH smaller price tag has happened! This lovely shade is available for $98 through Anthropology. EEEK a little to steep for just the shade don’t ya think! I’ve been searching for a lamp shade with good color and texture for a clients entry table; this was the perfect fix but not the perfect price tag.
 {source}
Introducing the knock off version…..
Here is what you need:
- lamp shade
- fabric (amount depends on size of shade, I used about 3/4 yd)
- spray adhesive
- hot glue gun
- scissors
- marker
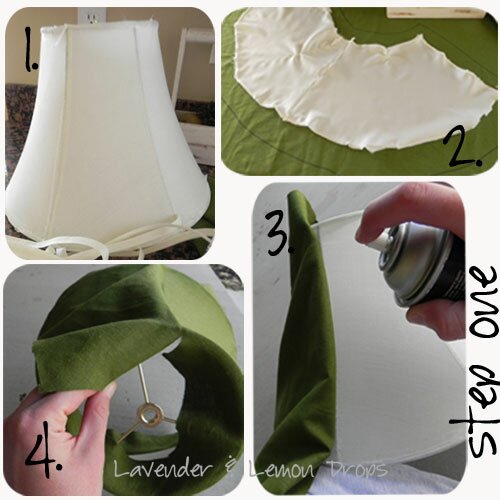
1. remove all piping on the shade. 2. remove lamp shade (keeping it in tact) and trace (about an inch away) around shade onto fabric. 3. spray your lamp shade with a good amount of spray adhesive. cover about 3-4 inches at a time and fold fabric over it, pressing it to the shade to prevent bubbling and to help it stick. 4. cut the top of your fabric when necessary to allow it to fold properly.
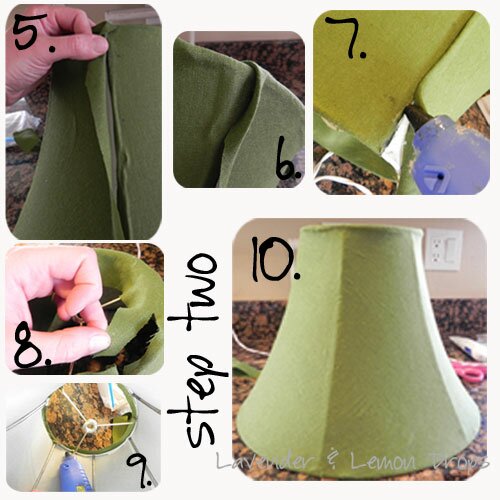
5. cut excess fabric so you have about 1/2 inch strip left. 6. tuck your fabric under to create a clean crisp seam 7. Hot glue a line all the way up your lamp from top to bottom and press that seam down. 8. cut excess fabric from the top and bottom of the lamp so you have about 1/2 inch strip left. 9. leave a strip of glue where the rim of the shade is and press your seam down. you might have to roll your fabric on top of itself in some spots. 10. you should have a recovered shade
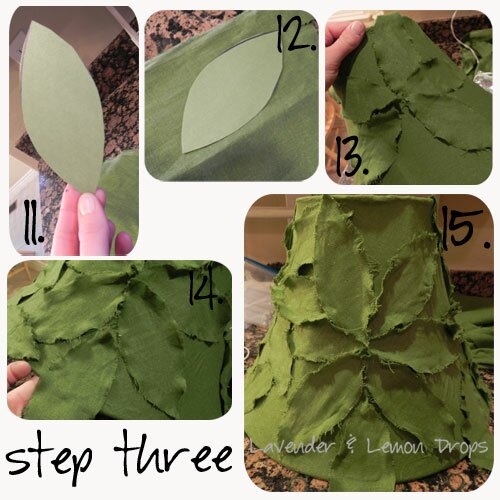 11. cut a leaf out of card stock. you want your leaf to be slightly smaller than half of your lamp shade. 12. start tracing your leaf onto your fabric. you will need quite a few leafs. I used about 30. 12.5 (refer to step 17 for picture) FRAY your leafs before gluing them on! 13. place a strip of hot glue all the way around the middle of your leaf and begin placing them on your shade. you want them to slightly touch in the middle and on the sides but not glued together. 14. you want to alternate where you place your flowers around the shade. at the open spots on the bottom and top place one to two leafs to fill in the gap. 15. there will be a few open spots but not many. here is what the first layer looks like complete.
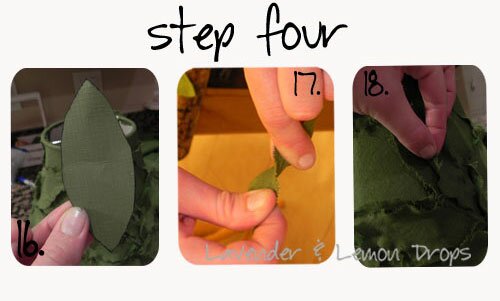
16. cut down your card stock leaf so it will fit inside the first leaf you cut out. trace the same amount of smaller leafs as you did bigger. 17. FRAY your leafs again before gluing them. 18. place your smaller leaf inside each big leaf on your shade. you want them to be almost centered on each big leaf.
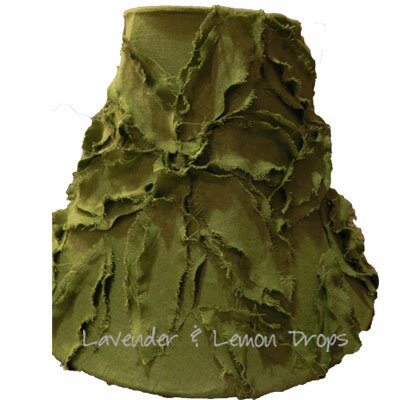 YOUR DONE! If you want your shade to be more messy and frayed just rub your finger tips roughly around the edges of each leaf (be careful not to pull them off). The entire lamp shade cost me $6.40. I made this for my client and she already had the shade and the lamp base. The lamp base was spray painted with Krylons Ivory in satin finish. The hot glue and spray adhesive were both already on hand. So what do you think about my 1st Anthro knock off?
Here she is assembled and lovely
linking up with these great bloggers
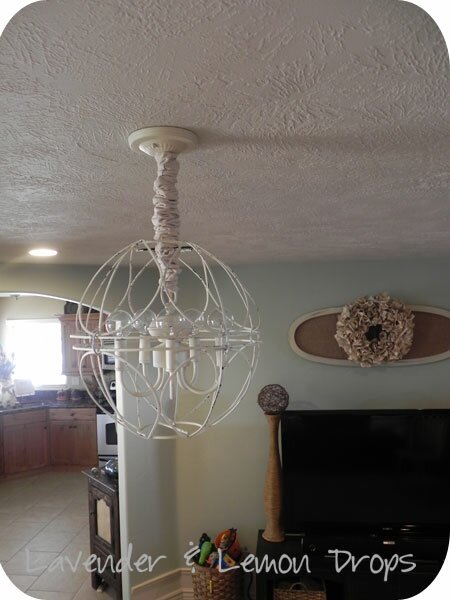
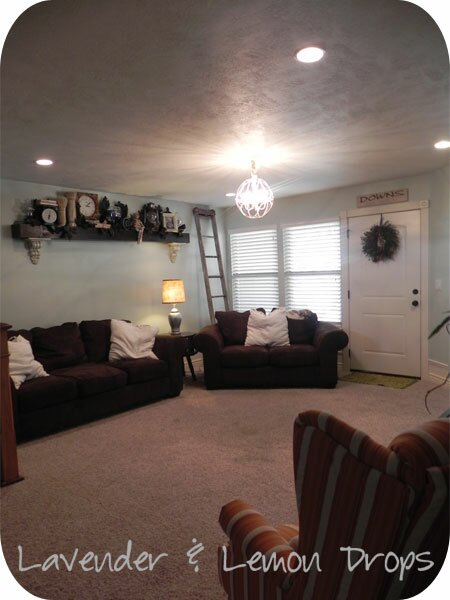 Here is the “after” with the hanging basket chandelier. Much better!
 I covered my chain and cord with a cord cover. I think it warmed it up a little more.
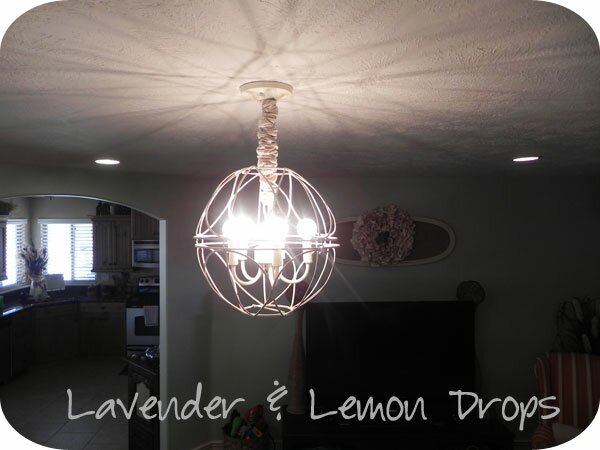 My favorite thing about my new chandelier is the awesome shadows it casts onto the ceiling. It adds a little more detail when you flip on the switch! The other awesome thing about this light is the cost…. $25 bucks! I bought my old chandelier light from the DI thrift store and my two baskets from Lowe’s were about $20. You cant beat that! I now have a new problem…. I want to make one of these for every single room in my house! If you want to make one yourself head on over to Mandi’s site and check out her tutorial! Happy Friday!