DIY

Paint etc.

Nope, I haven’t disappeared again! Things around here are just busy as usual. I’m currently trying to find the perfect paint color for my bedroom and also working on my headboard. First things first…. I made a little trip to Sherwin Williams the other day to look at a few gray paint samples. While I was there I FINALLY got my very own paint chip book! This will make my life soooo much easier! I think the guy at Sherwin Williams was sick of me coming in, grabbing a few paint cards, leaving, and then repeating this three days in a row. Ha.
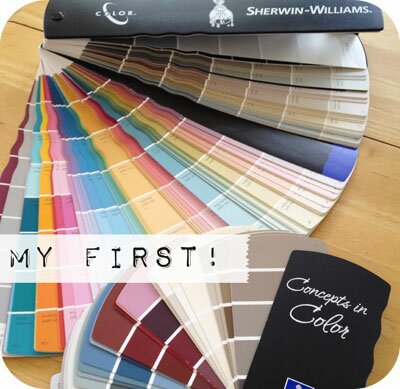
 I thought I found the “right paint color” for my bedroom but I can’t live with it! The lighting in my bedroom does crazy weird things to my paint colors. For some reason the shade of “white” that I choose is pulling a crazy bright yellow and it’s to dang bright for me!  Here is what I’ve been doing the past week…. starring at paint samples!

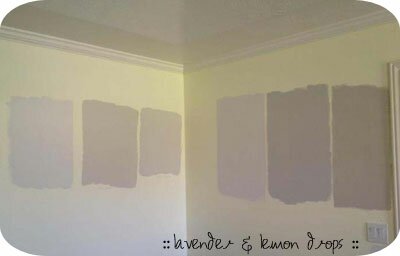
Gray can be hard to get right because it pulls blue and purple shades in certain lights. I love all of these colors but the darker ones are too dark for my room and the lighter ones are pulling that blue or purple. You don’t get any of that from this picture but it’s true, promise ;)
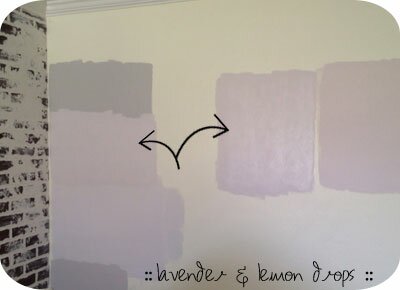
I’ve probably spent at least $30 in paint samples… sigh. I gotta get it right this time! After putting a few of the grays next to my wall I decided that they clash really bad. No worries though I think it’s safe to say that I’ve found the right color this time. It’s SW 6035 Gauzy White. It’s the perfect mauvy, whitish, pink lol I know… none of those colors are really the same but depending on the time of day it pulls one of those three colors in my room! It’s lovely :)

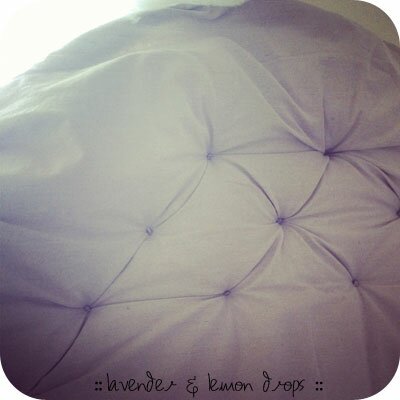
 Here is a sneak peak of my headboard. Things didn’t go quite as planned when I started tufting it. I’ve made a compromise but it’s one that I can’t wait to share with you! This headboard is going to ROCK after I’m done tufting all 73 holes. CAN’T WAIT!
DIY Business Cards and QR Codes

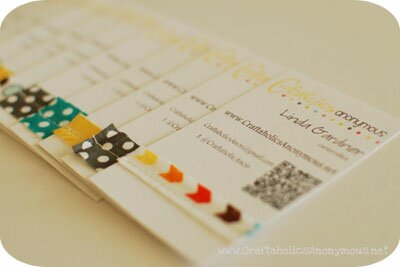
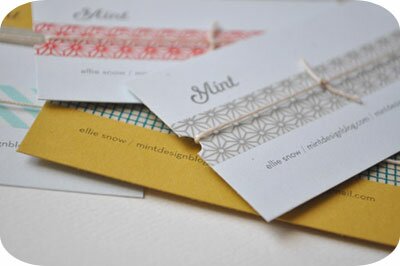
I recently attended my very first blogging get together hosted by Lindsay at Southern Lovely and Becca From Gardners to Bergers. These two girls are seriously the sweetest! It was a blast and I enjoyed getting to know my fellow local bloggers! I wanted a fresh new look to my business cards for this little event but I didn’t want to spend a lot of money, so DIY business cards is what I did! I browsed around the internet a bit and was inspired by these designs…..

:: ::

:: source ::

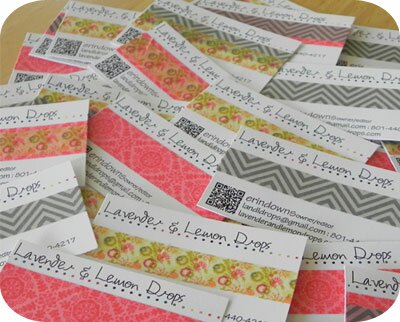
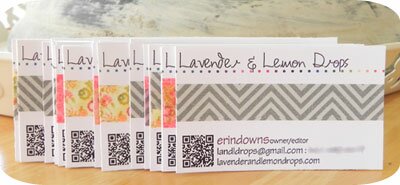
I loved the simplicity of the cards so I used a few elements from each and this is how mine turned out.

I wanted a unique, catchy, and memorable look. I used Photoshop Elements to create the layout, to add the font, and insert the QR Code. I saved my document to my SD card and took them to Kinko’s for printing. I spent a whopping $3.40 to have 6 sheets, 8 cards each, printed! I cut my cards up and added a strip of washi tape down the center of each.

 That funky little printed box looks really intimidating but don’t fear… its SO EASY!  Linda from shared a little on how to add your QR code.

Here is how it works….

 Go to THIS site.

1. Select what type of data you want converted into your code

2. Input your content.

3. Select what color you want your code printed as. I suggest keeping it simple and using the darkest black. This will prevent an errors when using/scanning the code.

4. Select your output type/how you want to receive your code. I downloaded mine so I could open it in Photoshop and attach it to my business card.

That’s it! So easy right! You could use these QR codes for your FB and Twitter page, a specific blog post, even your email address. Awesome!

Thanks for organizing the get together Lindsay and Becca! I enjoyed chatting and getting to know both of you :)

linking up with these great bloggers

Stenciled Wall ~ Sneak Peak

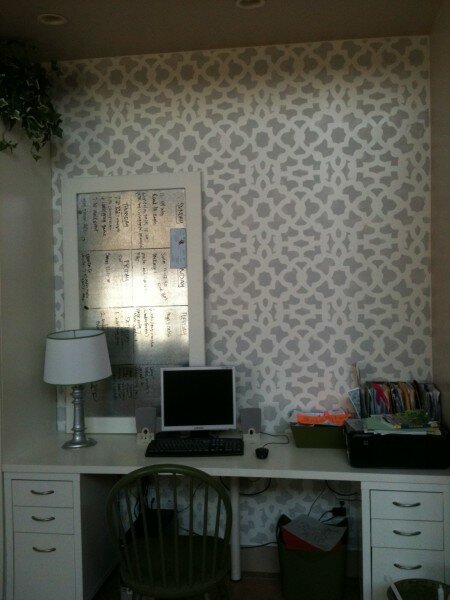
I’ve been working with my client for the past few months on her living room and office area. She just finished stenciling her office wall and I about lost it when I checked my email. Here is a little sneak peak of the office area.

EEEKK doesn’t the wall look awesome! I can’t wait to share the finished photos with you. Hopefully soon :)

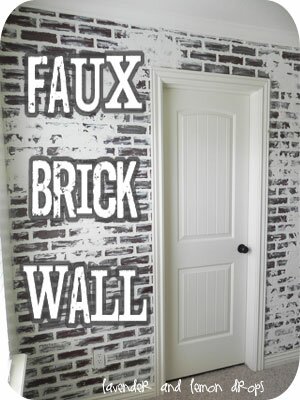
Faux Brick Wall

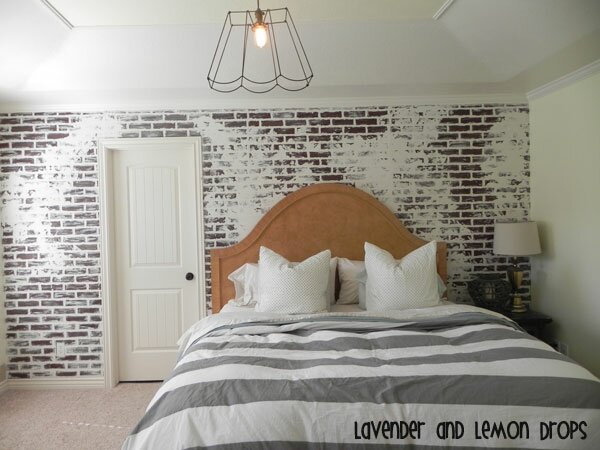
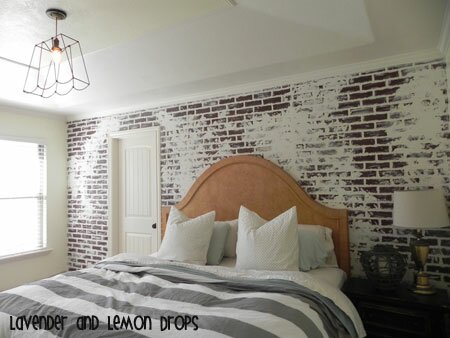
It’s finally finished and I’m in LOVE! It took me a little longer than anticipated but that’s usually how my projects pan out! Here is the nitty gritty….

Brooke’s inspiration picture, and the faux brick wall that she created from it, were my inspiration. The messy brick look instantly captured my heart and became the missing piece for my room. I was determined to achieve this look!

:: source ::

 I purchased the faux brick panels from Lowes and attached them to the wall using liquid nails and a nail gun.

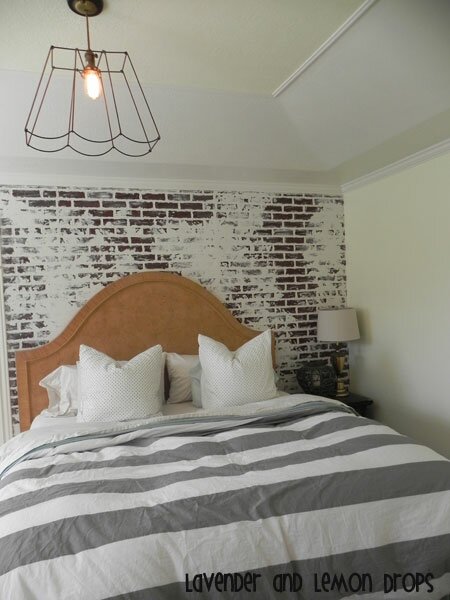
 To give the wall a textured look I used joint compound in place of paint (Brooke used a white paint to cover the black grout and to create the “smeared” areas). To add extra depth and texture I used my finger to apply the compound to the grouted areas.  I had to remind myself that I was after an imperfect look. The faster and thicker you layer it on the better it looks! After the grout was filled in I used a mud spatula to smear the compound in random areas. Again, aim for imperfection!

Next up on the list is reupholstering my headboard! Slowly but surely my room is coming together.  Here is a little peak at what the room looks like with the bed against the wall. The missing piece was filled and my room finally has character!

Oh and just in case you were wondering…….this is what it looked like before! The wall looks SO much smaller and sad… really its screaming “add something marvelous to me please please please” ha!

linking up with these great bloggers