Crafts

DIY Business Cards and QR Codes

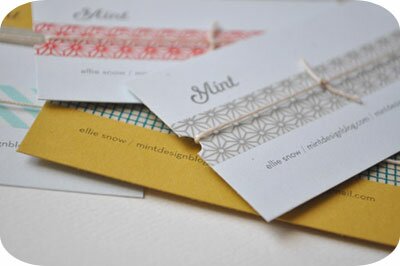
I recently attended my very first blogging get together hosted by Lindsay at Southern Lovely and Becca From Gardners to Bergers. These two girls are seriously the sweetest! It was a blast and I enjoyed getting to know my fellow local bloggers! I wanted a fresh new look to my business cards for this little event but I didn’t want to spend a lot of money, so DIY business cards is what I did! I browsed around the internet a bit and was inspired by these designs…..
:: ::

:: source ::

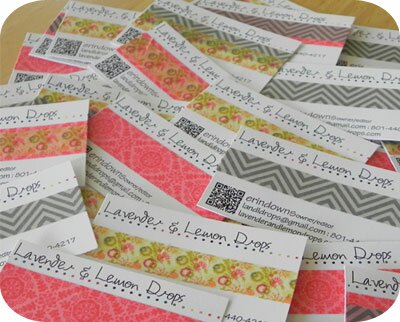
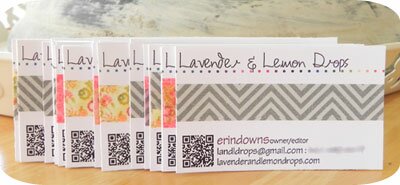
I loved the simplicity of the cards so I used a few elements from each and this is how mine turned out.

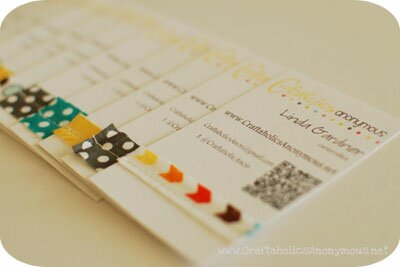
I wanted a unique, catchy, and memorable look. I used Photoshop Elements to create the layout, to add the font, and insert the QR Code. I saved my document to my SD card and took them to Kinko’s for printing. I spent a whopping $3.40 to have 6 sheets, 8 cards each, printed! I cut my cards up and added a strip of washi tape down the center of each.

 That funky little printed box looks really intimidating but don’t fear… its SO EASY!  Linda from shared a little on how to add your QR code.

Here is how it works….

 Go to THIS site.

1. Select what type of data you want converted into your code

2. Input your content.

3. Select what color you want your code printed as. I suggest keeping it simple and using the darkest black. This will prevent an errors when using/scanning the code.

4. Select your output type/how you want to receive your code. I downloaded mine so I could open it in Photoshop and attach it to my business card.

That’s it! So easy right! You could use these QR codes for your FB and Twitter page, a specific blog post, even your email address. Awesome!

Thanks for organizing the get together Lindsay and Becca! I enjoyed chatting and getting to know both of you :)

linking up with these great bloggers
Jar Terrariums

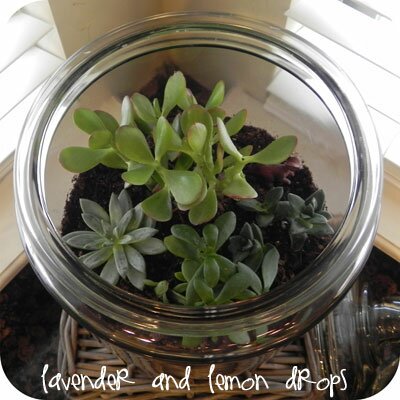
They are finished! I finally found more succulents so I could finish building my jar terrariums. They aren’t as full or vibrant as my inspiration but I love them! I had the hardest time finding decent succulents when it finally dawned on me….. IKEA! I swear sometimes that place has the answer to everything ;)

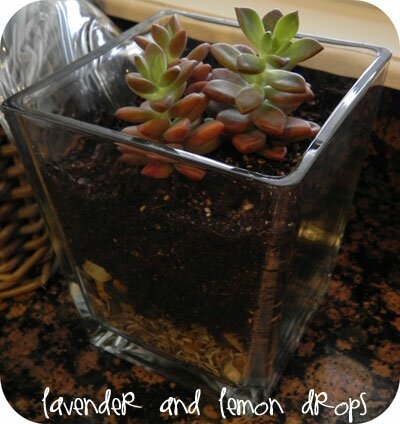
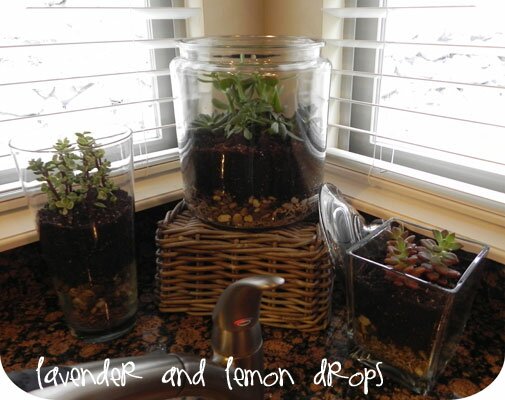
These two smaller succulents are both from IKEA. If you plan on making your own terrariums check there first. They had the BEST selection.

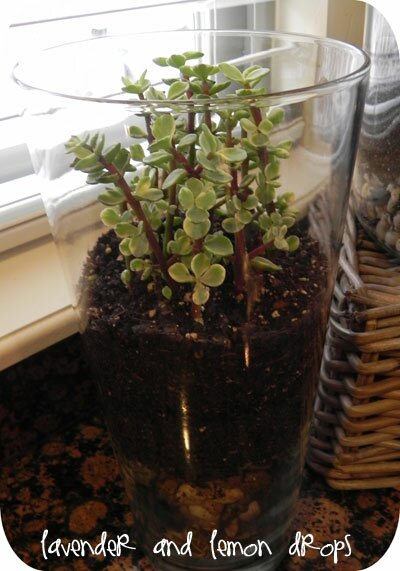
The succulents in my large jar are from Home Depot; their selection was horrible! It consisted of the four plants that are in my pot and they were all very small. I was desperate and wanted my terrariums finished so I bought them. I hope they survive!

Here is the entourage of terrariums ha ha ha. This is seriously the perfect spot to place them and I love the simple/clean look they provide. Wish me luck with my not so green thumb! If you want to build your own terrariums stop by and visit Jamie for an awesome tutorial.

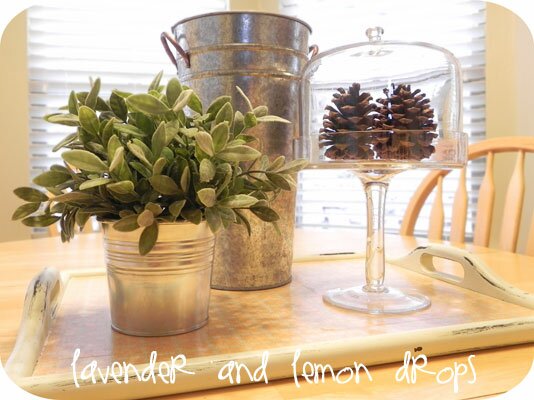
While I was at IKEA I picked up this cute fake herb plant to build a new table scape for my dining table. It works for now!

I also picked up this lovely item……

Yep its blue and white stripes…. my current obsession and I think I’m making pillows with it for my bedroom. It will look awesome with my latest purchase which is currently being shipped!

linking up with these awesome bloggers

DIY Journal

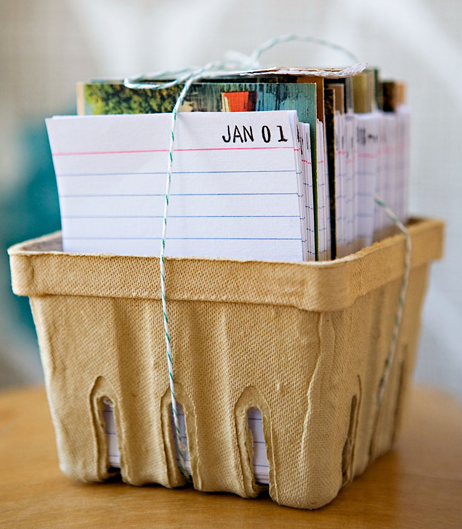
Just to refresh your memory…. I found an awesome idea to think of a word for the new year that will help you stay focused and on track to achieve your goal. My personal word(s) is “Slow Down”. I really want to focus on the sweet things my boys say to me and savor all of those little moments this year. I already do savor my sweet little boys of course but I really want to soak it up! I would also love to be better at documenting all of those little things. I found the cutest DIY journal that reuses materials from your local flee markets or thrift stores.

{source}

Isn’t it the cutest!?! You use old post cards from the thrift store and a fruit container from the flee markets. I’m not sure how easy it is to track down either of those things but I’m going to try! You also buy index cards and stamp the date on the top corner. All you have to do is right the year on the line and a little note. You can keep it and reuse it throughout the years! What a great idea! To see the full tutorial make sure you stop by and visit Design Sponge!