I don’t know why but I totally forgot about posting these, whoops! I made really cute tiered plate stands for my family for Christmas; I loved them and I think they did too! I actually got this idea from my mother-in-law and just couldn’t resist making some. There are so many options for their use: cookies, fruit, dip (if you have a bowl shape on top), chips, veggies, candy, the possibilities are endless!
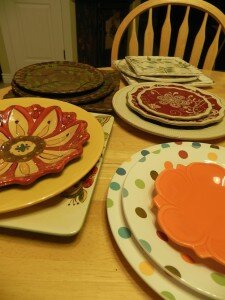
The five different styles of plates used
Here they are finished:
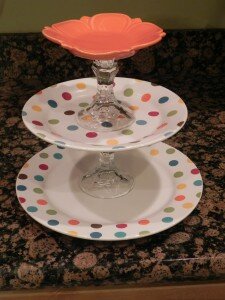
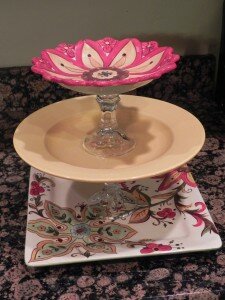
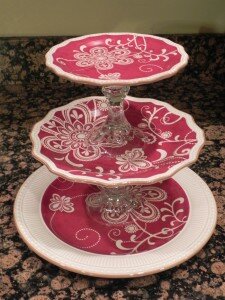
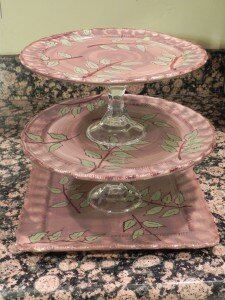
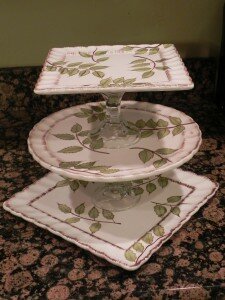
These are really easy to make, here’s how:
You will need:
- Q-Tips
- Paper Plate
-
3 different sized plates – you can use any style/type of plate. The one thing I recommend is getting a plate that is completely covered in ceramic. The brown and white flowered plates that I did were not covered with ceramic on the bottom; they ended up being to porous. The glue would stick but not for long, it would seep through the ceramic and the candle stick would come loose. I haven’t found the solution to this yet but I know there is one. When I find it I will post and update.
-
2 candle sticks – You can probably use anything that has a flat surface on the top and bottom. I used glass candle stick holder similar to the one below. I recommend staying between 2-3 inches for your height.
 Assembly:
You can measure to find the center of each plate to properly place your candlesticks. I didn’t have enough patience for this (I just couldn’t wait for the end product) so I placed mine by eye. You choose! I do recommend playing around with the placement of your candlesticks before you glue them though. That will give you a rough idea of where they need to be placed if you don’t want to measure. If you don’t feel comfortable “eying it” make sure you measure to find the center of your plate!
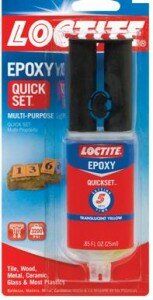
Squeeze some epoxy glue onto your paper plate. Mix it around with your Q-Tip (I also tried bypassing this step, I recommend you mix it to get the full effect of the glue). Use your Q-Tip to apply a generous amount of epoxy to the base of your candlestick and adhere it to the top of your bottom (biggest) plate. Then, apply epoxy with your Q-Tip to the top of that same candlestick and adhere it to the bottom of your middle plate. Repeat these same steps to attach your last/top plate.
I’m plan on making another tiered plate stand soon so I will take pictures of the whole process and add them to this post when its finished! If you have any questions make sure you ask me :)
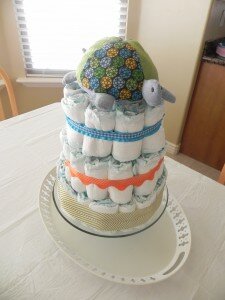 I made the diaper cake and used a tutorial to make the cute turtle on top
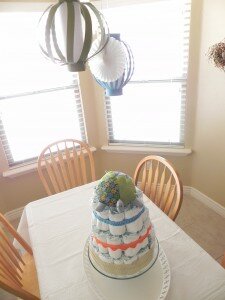
 I made the diaper cake and used a tutorial to make the cute turtle on top
