It’s finally finished and I’m in LOVE! It took me a little longer than anticipated but that’s usually how my projects pan out! Here is the nitty gritty….
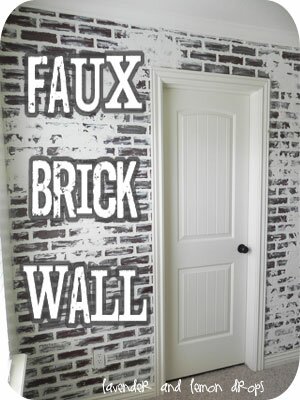
Brooke’s inspiration picture, and the faux brick wall that she created from it, were my inspiration. The messy brick look instantly captured my heart and became the missing piece for my room. I was determined to achieve this look!
 :: source ::
I purchased the faux brick panels from Lowes and attached them to the wall using liquid nails and a nail gun.
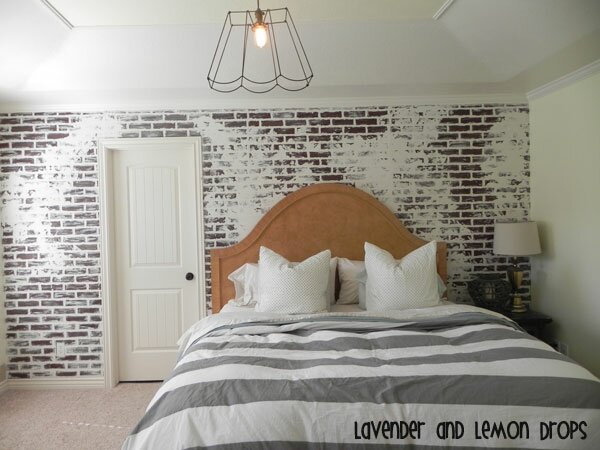
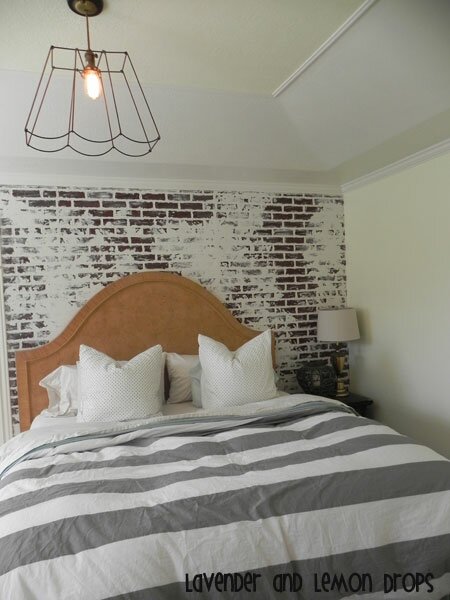
To give the wall a textured look I used joint compound in place of paint (Brooke used a white paint to cover the black grout and to create the “smeared” areas). To add extra depth and texture I used my finger to apply the compound to the grouted areas. I had to remind myself that I was after an imperfect look. The faster and thicker you layer it on the better it looks! After the grout was filled in I used a mud spatula to smear the compound in random areas. Again, aim for imperfection!

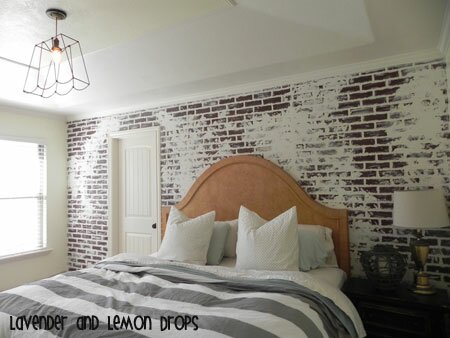
Next up on the list is reupholstering my headboard! Slowly but surely my room is coming together. Here is a little peak at what the room looks like with the bed against the wall. The missing piece was filled and my room finally has character!
 Oh and just in case you were wondering…….this is what it looked like before! The wall looks SO much smaller and sad… really its screaming “add something marvelous to me please please please” ha!
linking up with these great bloggers
